
Attaching your resistance bands the right way and in the right spot is one of the key ways to get the most out of your set. Without anchor points, there are a lot of muscles you can’t train properly. Luckily it’s pretty easy to find or create some anchor points for your bands.
The best way to anchor your resistance bands is with dedicated wall anchors if they can be mounted on a concrete/brick wall or a stud. The next best option is a door anchor which don’t require any permanent mounting. In a pinch, you can use a heavy piece of furniture but this requires some care.
There are a few different routes you can take to attach your bands. We’ll go over the different options below.
Contents
Resistance Band Anchor Types
For lots of resistance band exercises, you need to attach your resistance band somewhere. While there are quite a few exercises where an anchor isn’t necessary, for many it is. Then what is the safest and easiest way to do so?
What can you use to attach your resistance bands to?
Those are the four main ways of anchoring your resistance bands. If done right, they are safe, cheap, and easy to use. We’ll go into more details below.
Don’t have any resistance bands yet? Or maybe it’s time to upgrade. Check out this complete set on Amazon. It’s a complete set made by two physical therapists. It includes 5 bands, anchor, handles and ankle straps. Everything you need.
Resistance Band Anchoring Ideas
How To Attach a Resistance Band to Your Door
The only safe way to attach your resistance band to a door is with a door anchor. A door anchor is what comes with most resistance band starter sets like the one linked above.

Typically, a door anchor is made of sturdy nylon. One side has a ring to attach the bands to while the other side has a thick, usually foam, part. To use it properly, you place the door anchor by shutting the door with the thicker side on the opposite end, while the thinner part of the loop extends outwards. When the door is closed, the thick part can’t pass through so it stays in place.
It’s important to note that your door frame should have enough space to close the door with the loop squeezed between the door and the frame. Usually, this is fine but if it’s very tight, that might be a problem. It’s best to use these anchors against the direction the door opens. That way the door is closed more securely when applying force instead of trying to pull it open.
One of the great things about door anchors is their adjustability. You can position them at various heights, even at the top or bottom, if there’s enough space. This means it’s very versatile. And on top of that, it’s super cheap.
It’s worth mentioning that using a door anchor for an extended period might cause some wear and tear on the door and frame due to friction. On the bright side, you don’t need much preparation – just place it at your preferred height and shut the door.
By the way: There are a few different types of resistance bands for different purposes. Check them out here.
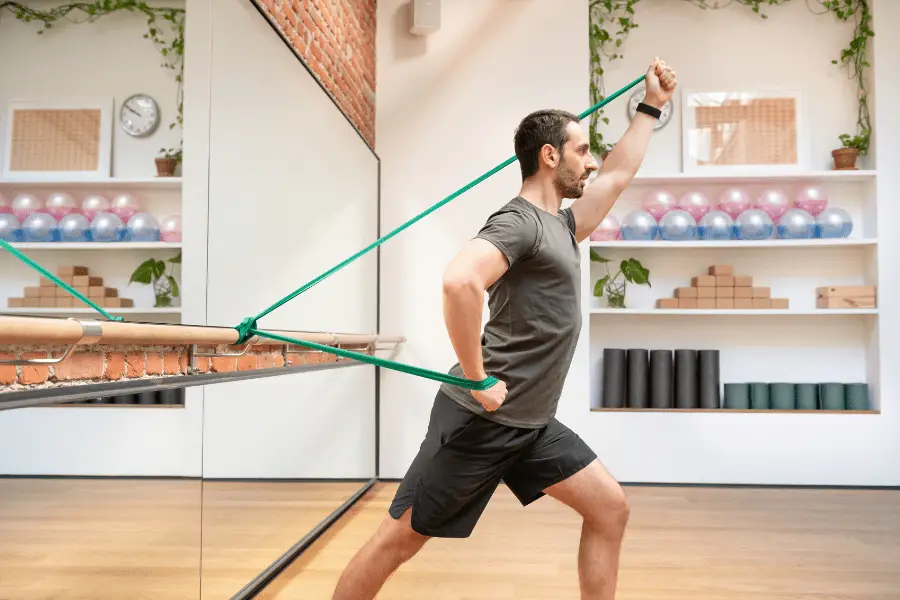
How To Anchor Resistance Bands To Your Wall
Walls are smooth so you’re going to have to mount something on it to be able to anchor resistance bands. Wall anchors are made just for that purpose. If you want to do things right, wall anchors are the way to go.

Wall anchors come in a wide range of shapes and sizes. Many are just a simple hook while others are larger pieces that offer multiple mounting positions.
They have to be securely mounted to the wall. The mounting itself is pretty easy; check where it needs to go, drill a hole, and use the provided hardware to mount it.
However, it’s very important that they’re mounted in a spot that can handle the force. Mount your band anchor on a random piece of drywall and it will catapult through the room the first time you use it.
It’s best to mount band anchors on concrete, brick walls, studs, or ceiling joists. That way the anchor is mounted safely and won’t come out.
Use Your House
You can anchor resistance bands on any part of your house that’s exposed and can be wrapped around. While most houses don’t have pillars or similar structures exposed, if you have them, they’re fair game.
Ceiling joists are a fairly common option, particularly in garages where they are often exposed. However, if the ceiling joists have rough wood surfaces, it’s advisable to place something between the wood and the bands. This precaution helps prevent the bands from wearing out quickly due to friction.
We’ll go through how to wrap your resistance bands safely further down below.
Attach bands To Heavy workout equipment

If you’re fortunate enough to have your own home gym with equipment, that’s fantastic. Most gym machines are heavy and have metal tubing that is perfect for wrapping bands around. Just make sure they are bolted in place or heavy enough to not move.
Having a power rack opens up numerous opportunities for attaching resistance bands.
Many power racks come with built-in band pegs or offer them as an add-on accessory. Even if your power rack doesn’t have dedicated band pegs, you can still loop the band around all the uprights and braces. You can mount bands anywhere!
If your squat rack is securely bolted down or weighed down with a substantial load, it’s not going anywhere.
Anchor Resistance Bands To Furniture
If you don’t have any other options, you can consider using heavy furniture. The furniture should be quite weighty to prevent it from shifting during your exercises. The required weight depends on the resistance level of your specific band, naturally.
Is this the ideal solution? Not really, but it’s better than having no solution at all. Just be cautious when selecting heavy furniture and make sure not to damage it in the process.
The best options are the legs of heavy cabinets and tables. Attaching the band low on the furniture prevents it from toppling over, you really want to prevent that.
Use Your Body to Anchor Resistance Bands
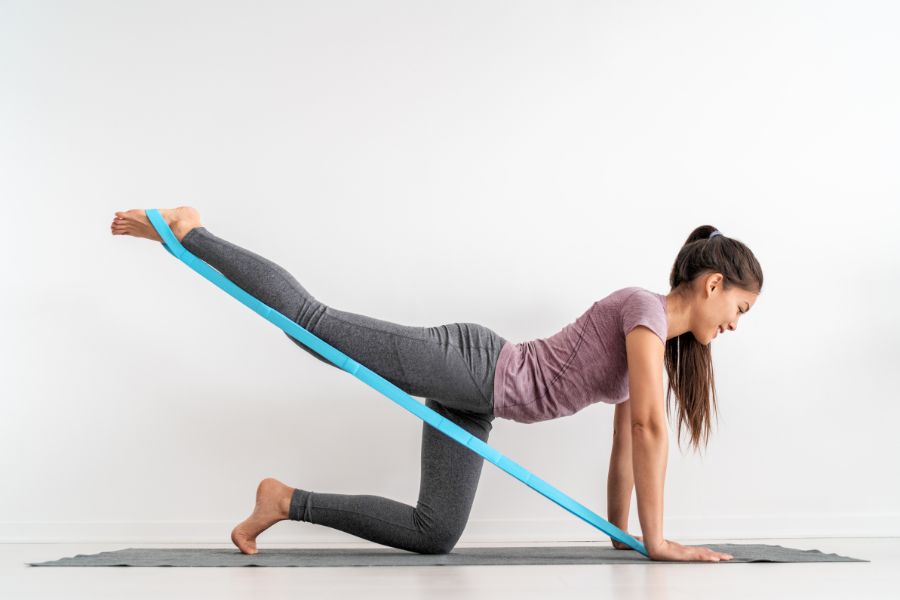
There are quite a few exercises that you can anchor on yourself. Most movements that aren’t front to back (Like chest press), you can do without any anchor. For example; for shoulder presses and lateral raises you can just hold the band under your feet.
With a little bit of creativity, you can do a lot of exercises without any anchoring. While you certainly can’t do all exercises this way, it helps to train a few muscles if there are no other options.
Resistance Band Anchoring Positions
Having a single anchoring position for your resistance bands isn’t going to cut it. Sure, having an anchor point somewhere on the wall will help create exercise options. It’s however not going to be enough for a complete full-body workout.
For a full-body workout, it’s good to have multiple anchoring points. How many? Ideally, you could adjust the location from the floor under you to the ceiling above you and everywhere in between.
For most people, 3 anchors on the wall is enough. You want them at different heights so different positions are possible. Start with one at shoulder height. Then one about 1.5 feet above that and one 1.5 feet below it.
For many exercises that require an anchor that’s very low, you can put the resistance bands under your feet to keep the band in place. That makes it unnecessary to put an anchor on the floor. However, for many leg exercises, a very low anchor at ankle height is a nice addition.
If you want to go all out, you can put an anchor point straight above you. This way you can do lat pull-downs. It’s not absolutely necessary but it would complete the setup.
Proper Attachment Techniques
Related questions
Can resistance bands help lose weight? Yes, resistance bands can help you lose weight by giving more resistance to your other exercises. More resistance means more muscle growth and more calories used. However, for losing weight, there are probably better things you can do.
How long do resistance bands last? How long resistance bands last depends on the quality, use and storage conditions. Thin resistance bands can be expected about 1 year while thick bands can last about 3 years with regular use.