
Elliptical machines are great workout machines, but they need maintenance and repairs after a while. So how do you replace a drive belt on an elliptical trainer?
Materials Needed:
- Allen Wrench
- Flathead Screwdriver
- New Elliptical Drive Belt
- Optional: Machine Oil
You will not need any power tools to replace the elliptical trainer drive belt.
Suggested post: How can I make my elliptical run smoother
Contents
- 1 Replacing an Elliptical Trainer Drive Belt Step By Step
- 2 1. Remove Swing Arms
- 3 2. Remove Pedal
- 4 3. Remove Top Shield
- 5 4. Remove Side Shield
- 6 5. Remove Pedal Disks
- 7 6. Remove the Drive Belt
- 8 7. Replace New Drive Belt
- 9 8. Replace Pedal Disks
- 10 9. Replace Shields
- 11 10. Replace Pedals and Swing Arms
- 12 Note
- 13 Favorite Cardio Accessories
Replacing an Elliptical Trainer Drive Belt Step By Step
Below you can find out how to replace the drive belt of an elliptical step by step. This is a general guide that works for the majority of elliptical trainers but some could be a little different. The tools needed are common in most households so you shouldn’t have any trouble finding them.
The replacement drive belt will be a bit more difficult. Elliptical drive belts are specific to the machine so you’ll have to find the exact replacement part. Contacting the manufacturer or retailer you got the elliptical from is your best bet.
That said, let’s get into the steps.
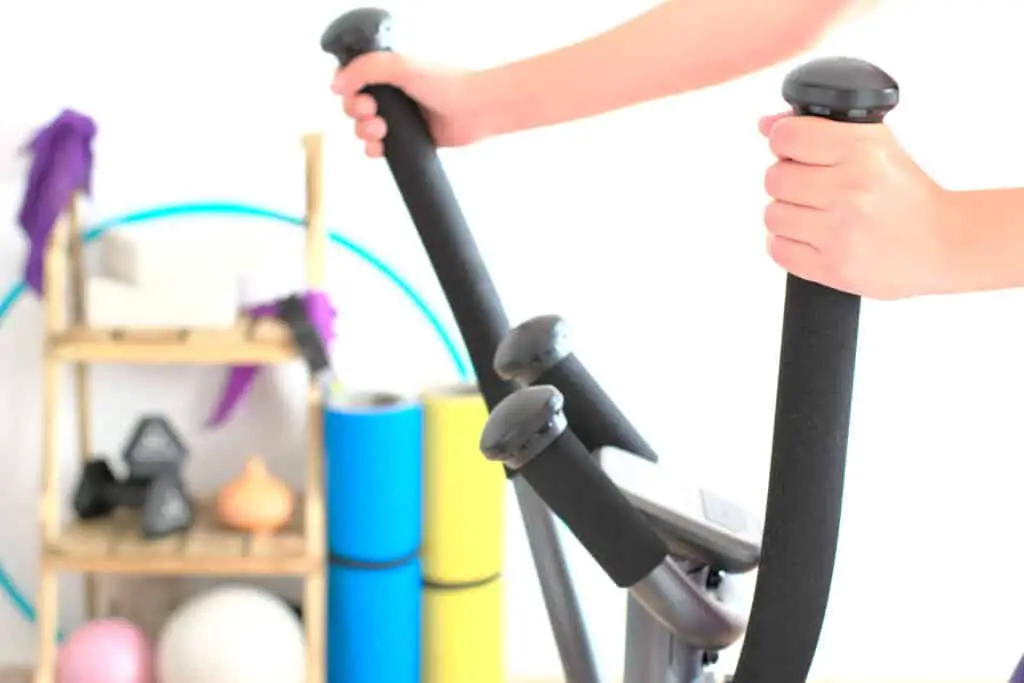
1. Remove Swing Arms
Use an Allen wrench to remove the bolt that holds the swing arm and pedal together. Be careful when you remove the bolt, because it may swing out and hit you.
Once you have removed the bolt, you may need to remove screws or bolts on the top of the swing arm in order to remove it from the machine. If you can set the swing arm in a way that it will not move and hit you while you are replacing the drive belt, and it will stay out of your way, you do not have to remove the swing arm entirely.
Do this process for the right and left swing arm and set the pieces aside.
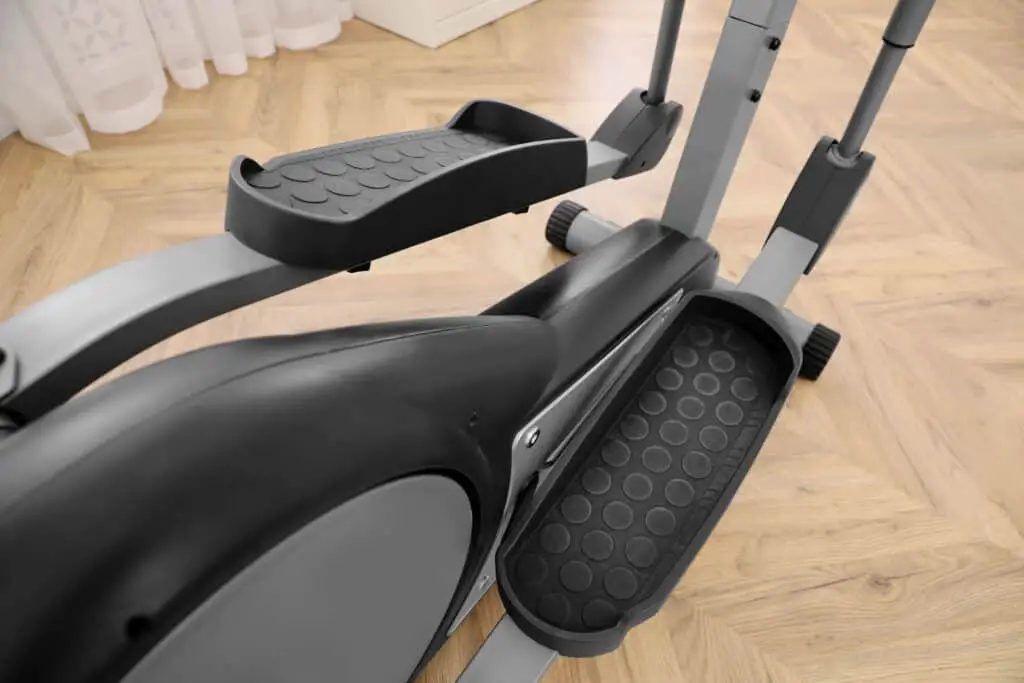
2. Remove Pedal
Using the Allen wrench, remove the bolt that holds the pedals to the machine. There may be a disk next to the bolt. If there is, remove that as well. Then, gently remove the pedals and set them aside. The wheel may move while you are doing this, so be careful not to press down on the pedal while you are removing it.
3. Remove Top Shield
Next, remove the top shield that covers the wheel of the elliptical trainer. It should simply snap on and off, but there may be screws to remove depending on your machine. If there are screws, remove them and set them aside in a place where they will not get lost or mixed up with screws for other parts of the elliptical.
Suggested: 8 Reasons why my elliptical isn’t working.
4. Remove Side Shield
Gently remove the left-hand and right-hand disks by using a small, flat-head screwdriver. You may need to remove screws before doing this, depending on your machine, or they may simply be able to be popped off. Look at your elliptical trainer’s user manual or repair manual for specific directions.
5. Remove Pedal Disks
Remove the screws from the left-hand pedal disk, and set the screws aside in an area where they will not get lost. After the screws have been removed and set aside, pull off the pedal disk and set it aside. Repeat the process for the right-hand pedal disk. The pedal disk is what ensures that the pedals of the elliptical do not face any resistance that will slow you down.
6. Remove the Drive Belt
First, loosen the tension on the drive belt by loosening the pivot bolt and the adjustment bolt. Then, slowly spin the back wheel it is attached to until one end comes off of the wheel. You may have to pull some of the belt off by hand before you start spinning the back wheel. Loosen the bolt that holds the wheel until you can lift it. Then, lift the back wheel and remove the drive belt completely. After that, discard the old or damaged drive belt.
7. Replace New Drive Belt
Lift the wheel that you removed the drive belt from and place the new one onto the wheel. Then, tighten the bolt holding the back wheel on the machine. After that, pull the drive belt onto the front wheel of the elliptical. You may need to use machine oil in order to get it on, but it is not required.
Then, turn the front and back wheels by hand in order to gauge how tight the drive belt is. It needs to be very tight in order to work properly. If it is loose, tighten the idler bolt. See your elliptical trainer manual if you are not sure where it is.
8. Replace Pedal Disks
After you have replaced the drive belt, put the left-hand and right-hand pedal disks and screw them in. Make sure that the screws are really tight.
When you’re putting everything back together, is a great time to check everything for wear and properly lubricate all the parts that need it. For more information about cross trainer lubrication, click here.
9. Replace Shields
After the pedal disks are in place, put on the top, left-hand, and right-hand shields. If they were screwed in, replace the screws. Make sure that they are screwed in tightly.
10. Replace Pedals and Swing Arms
After the shields are put into place, replace the pedals. Put the left-hand side pedal onto the notch you removed it from and secure the bolt with the Allen wrench. After the pedal is securely in place, replace the swing arms completely.
If you have not removed them completely, or after you have securely replaced the swing arm, then simply connect the pedal and swing arm with the bolt, and tighten the bolt with the Allen wrench. Repeat this process with the right-hand side pedal and swing arm.
After all of this, you are done! Now you can enjoy using your repaired elliptical trainer.
Note
There may be extra steps required for you to do in order to remove the drive belt on your elliptical trainer because each elliptical trainer is different. While the main steps to replace a drive belt are the same, there may be extra shields, bolts, or screws that you need to remove in order to gain access to the drive belt.
Suggested post: Elliptical trainer maintenance guide
Before performing any repairs, review the warranty of your elliptical trainer. It still may be under warranty, and if it is, the elliptical trainer company will likely send someone to your home to repair it with no cost to you, which is much easier than replacing the drive belt by yourself.
Before you replace the drive belt, trouble-shoot other areas of the machine to see if other things are causing the issues you are experiencing. It is never fun to replace a part only to find that you replaced a part that didn’t need to be replaced. Most elliptical trainer user manuals will have instructions for how to troubleshoot your elliptical trainer.
Suggested post: How to stop you elliptical from clunking
When all of the pieces have been removed and set aside, it is a great time to clean them, especially if you do not clean it very often. You don’t have to clean them if they seem to be in good shape. However, if you do clean them, make sure that they are completely dry before putting them back on the elliptical trainer.
Suggested post: Can you put an elliptical trainer in the garage for storage/training?
Favorite Cardio Accessories
Check out these accessories that improve a home cardio workout:
- Equipment mat: All cardio equipment should be put on an equipment mat. The Rubber-Cal mat (Amazon) is an affordable yet very high-quality choice.
- Interval timer: To time your intervals and workouts, there is no better choice than the GymNext Flex. It’s super easy to use and set up with a phone app.
- Tablet holder: Cardio can be boring. With this tablet holder (Amazon) you can follow along with on-demand workouts or just watch a movie on any cardio machine.
- Heart rate monitor: Monitoring your heart rate is very important while doing cardio. The Polar H10 (Amazon) connects to almost anything you can imagine and is very accurate.
To find which cardio machines I recommend for home gyms, click here.
