
Maintaining your rubber gym flooring is essential to keep it in top shape and ensure a safe and clean workout environment. Whether you have rubber floor mats or interlocking tiles, proper maintenance will prolong their lifespan and preserve their performance. In this article, we’ll explore the key steps and tips for maintaining your rubber gym flooring effectively. Let’s dive in!
Contents
- 1 What Kind Of Maintenance Does Rubber Gym Flooring Need?
- 2 Regular Cleaning: The Foundation of Rubber Gym Floor Maintenance
- 3 Common Mistakes to Avoid When Cleaning Rubber Gym Flooring
- 4 Preventive Measures for Rubber Gym Flooring
- 5 Practical Tips for Maintaining Rubber Gym Flooring
- 6 Common Rubber Gym Floor Problems and Solutions
- 7 Sealing Rubber Gym Floors
- 8 Using Bleach on Gym Floor: Safety and Considerations
- 9 Final Thoughts
Key Takeaways
- Regular cleaning is crucial to keep your rubber gym flooring hygienic and in optimal condition.
- Other than cleaning, rubber gym floors are almost maintenance-free.
- Avoid abrasive materials and harsh chemicals for cleaning
- Use a rubber cleaning solution and mop to clean the floor regularly.
- Sweep or vacuum the floor to remove dust and debris.
- Spot-clean trouble spots using a soft bristle brush and cleaning solution.
- Allow the floor to air dry completely after cleaning.
- Consider sealing your rubber gym floor for added protection and longevity.
Now that we have the key takeaways, let’s delve into the details and explore the maintenance process of rubber gym flooring. You can find out what parts of rubber mat maintenance are the most important, which are less important, how to do it, and what you should avoid doing.
What Kind Of Maintenance Does Rubber Gym Flooring Need?
Rubber gym flooring maintenance involves several essential steps to keep the surface clean, resilient, and safe for your workouts. Regular cleaning is the foundation of rubber gym floor maintenance. It helps remove dirt, sweat, and other contaminants that accumulate over time.
Other than that, there really isn’t much maintenance that can/should be done on rubber flooring. It’s one of the benefits of choosing rubber. There are a few small preventative things you can do but they are minor compared to good old cleaning.
Don’t have any gym flooring yet? Discover amazing options and best-kept gym flooring secrets here.
Regular Cleaning: The Foundation of Rubber Gym Floor Maintenance
Regular cleaning is a crucial aspect of maintaining your rubber gym flooring. It not only keeps the floor looking its best but also ensures a hygienic workout environment. Here are the steps for regular cleaning:
What You Need To Clean Rubber Flooring
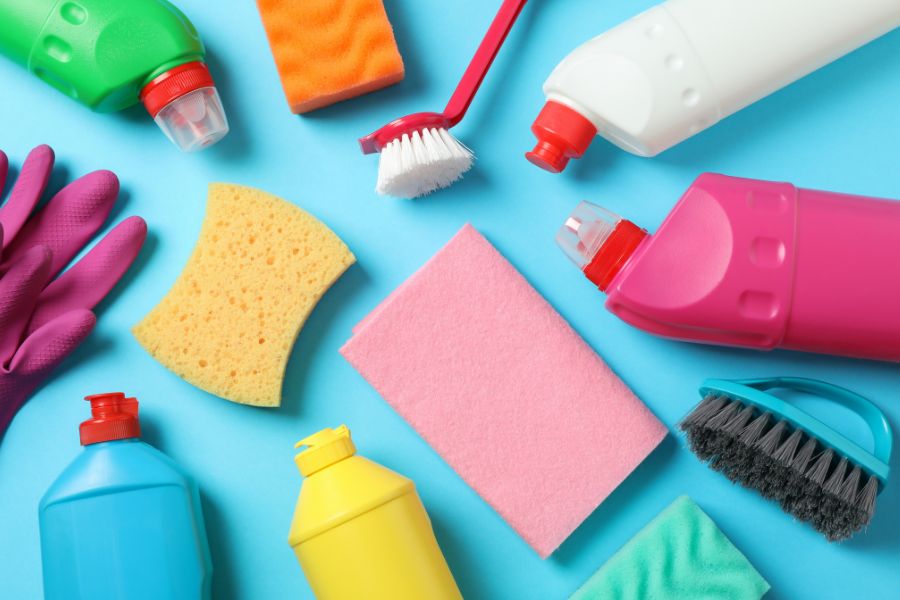
Before you start cleaning, gather the necessary supplies:
- Cleaning solution: Choose a suitable cleaning solution for rubber flooring. You can use a neutral pH cleaner, a DIY solution, or a commercial-grade cleaner. Avoid using abrasive or harsh chemicals that can damage the rubber surface. Specific rubber cleaners will work best. Check out this IncStores rubber floor cleaner on Amazon. They sell this for use on their own rubber floors so you know it’s safe. A solution of 1-2 oz per gallon works well for most rubber cleaners but check the bottle to be sure.
- Mop: Select a mop that is appropriate for cleaning rubber floors. Options include a flat head mop, sponge mop, string mop, or a floor scrubber. Choose one that suits your preference and provides effective cleaning.
- Soft Bristle Brush: For spot cleaning, a brush is useful. Don’t use hard or abrasive brushes, they will scratch the rubber. Us a soft bristle brush. These brushes on Amazon are cheap and work well.
- Bucket: Prepare a bucket for the cleaning solution. If you prefer the two-bucket method, have two buckets ready—one for the cleaning solution and another for rinsing the mop. A mop bucket that can squeeze excess water out is very useful. This JoyMoop mop and bucket combo (Amazon) is perfect, I’ve been using it for a year and made cleaning rubber and tile floors so much easier.
Steps For Cleaning Your Rubber Gym Floor
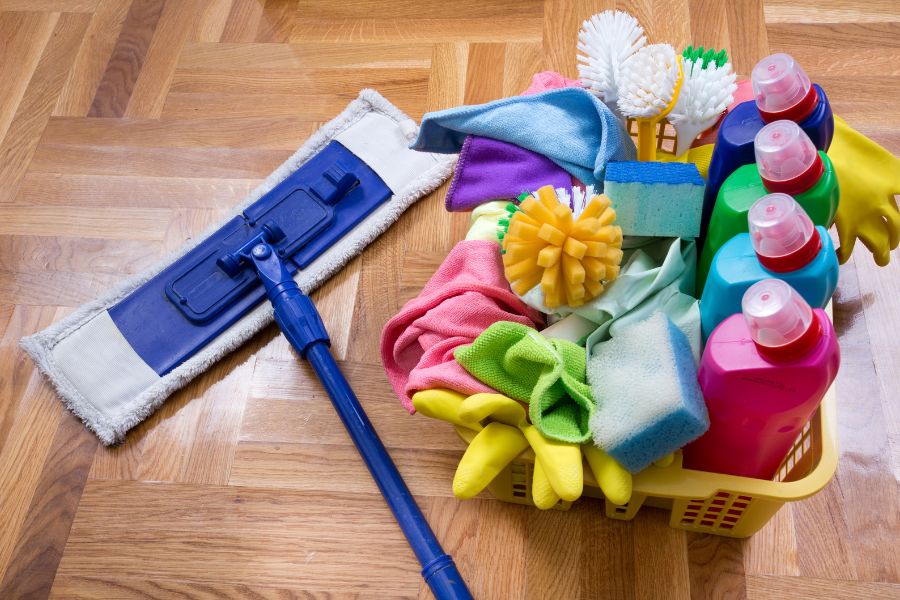
Now, let’s walk through the steps for cleaning your rubber gym floor effectively:
- Sweep/Vacuum the Floor: Begin by removing loose debris, dust, and dirt from the floor. Use a broom, vacuum cleaner, or even a leaf blower for larger areas. Pay extra attention to trouble spots (corners, seams) and areas with heavy foot traffic.
- Spot-Clean Trouble Spots: After sweeping, inspect the floor for any dirty or stained areas. Use a soft bristle brush and a cleaning solution to spot-clean these trouble spots. Focus on high-traffic areas and spots that require extra attention. Apply the cleaning solution and gently scrub until the area is clean. Sometimes using a stronger cleaning solution is necessary. It’s best to do this in a spray bottle. Then only spray the stained area and let it sit for 5-10 minutes before brushing. Then wipe down.
- Mop the Floor With Rubber Cleaner: Fill the bucket with water and the appropriate amount of cleaning solution. Dip the mop into the solution, wring it out, and mop the rubber gym floor. You can use the two-bucket method, where one bucket contains the cleaning solution and the other is for rinsing the mop. This ensures that you’re always working with a clean mop and prevents spreading dirt and contaminants.
- Mop The Floor With Clean Water: Dedicated rubber cleaning agents are usually designed to dwell on the surface for 5-10 minutes. After that the solution should be mopped up with clean water. With normal floor cleaners, just mopping once is fine but they’re not as effective.
- Allow to Air Dry: After mopping, allow the rubber gym floor to air dry completely. Ensure proper ventilation in the area to facilitate the drying process. Open windows, doors, or use fans to promote cross breeze and expedite the drying time. Avoid walking on the floor until it’s completely dry to prevent slips and smudges.
Need more information about home gym flooring? Start here.
Common Mistakes to Avoid When Cleaning Rubber Gym Flooring
While proper cleaning is essential, it’s equally important to be aware of common mistakes that could potentially harm your rubber gym flooring. Rubber gym flooring isn’t cheap and you want to protect your investment. By avoiding these pitfalls, you can maintain the integrity and performance of your floor.
- Using Harsh Chemicals: Avoid using harsh chemicals, solvents, or cleaners with high acidity or alkalinity on your rubber gym flooring. These substances can damage the rubber material and cause discoloration. Stick to cleaning solutions specifically designed for rubber surfaces.
- Here are some to really avoid using on rubber:
- Petroleum-based solvents
- Strong acids or alkalis
- Ammonia
- Chlorine and chlorinated cleaners
- Oil-based cleaners
- Excessive Water or Moisture: When cleaning your rubber gym floor, use only as much water or cleaning solution as needed. Excessive moisture can seep into the seams of interlocking tiles or underneath floor mats, potentially leading to mold or mildew growth. Wring out mops or use a damp, not soaking wet, cloth for spot cleaning. This is also why you want to choose large rolls instead of rubber tiles.
- Using Abrasive Tools: Scrubbing the rubber gym floor with abrasive tools or brushes can create scratches or wear down the surface. Opt for soft bristle brushes or non-abrasive cleaning pads instead.
- Skipping Regular Cleaning: Neglecting regular cleaning can allow dirt, sweat, and debris to accumulate over time, leading to more challenging cleaning tasks in the future. Stay on top of your cleaning routine to maintain a clean and hygienic environment.
- Not Drying Properly: After cleaning, ensure that your rubber gym floor is thoroughly dry before using it again. Excess moisture can lead to slips and falls. Allow sufficient air circulation, use fans if necessary, and wait until the floor is completely dry before resuming workouts. Read more on the waterproof properties of gym flooring here.
By avoiding these common mistakes and following proper cleaning techniques, you can keep your rubber gym flooring in excellent condition for years to come.
Preventive Measures for Rubber Gym Flooring
Prevention is key when it comes to maintaining the quality and longevity of your rubber gym flooring. By implementing a few preventive measures, you can minimize potential damage and ensure that your floor remains in optimal condition.
- Use Floor Mats: Place floor mats at the entrances of your gym space to trap dirt and debris before it reaches the rubber flooring. This will help prevent excessive dirt accumulation and reduce the need for frequent cleaning.
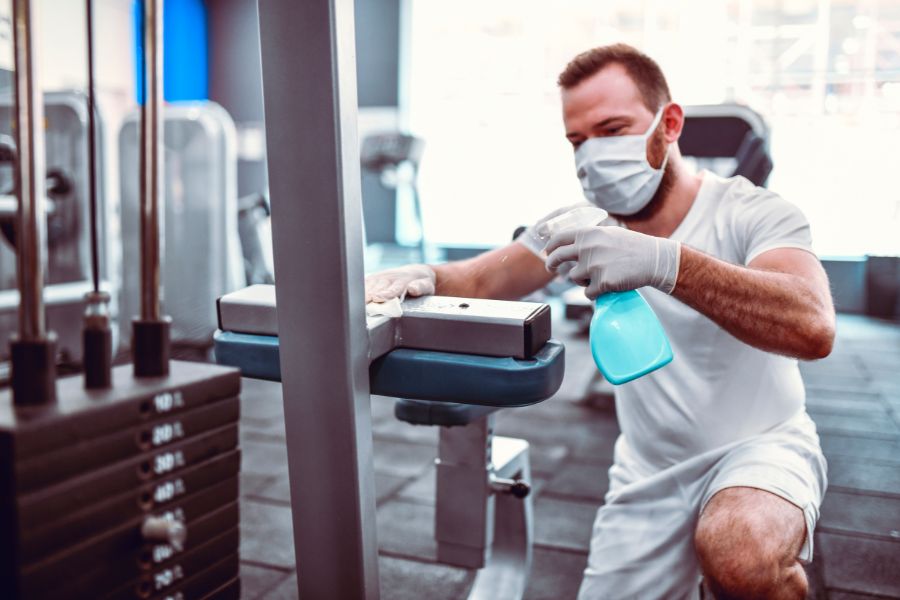
- Wipe Down Equipment: Wipe down your equipment after each use. Perspiration and oils from the body can transfer onto the rubber floor, potentially causing staining or slipping hazards. It also helps keep your gym equipment in good shape.
- Avoid Dragging Heavy Equipment: Because rubber is quite grippy, dragging heavy equipment can leave scratches and marks. Lifting the equipment is better. You can also put something under the feet of the equipment that is slippery so it’s easier to move.
- Follow Manufacturer Instructions: Adhere to any specific maintenance guidelines provided by the manufacturer of your rubber gym flooring. They may have recommended cleaning products, techniques, or maintenance schedules that are tailored to the particular type of rubber flooring you have.
Practical Tips for Maintaining Rubber Gym Flooring
Here are some additional practical tips to help you maintain your rubber gym flooring effectively:
- Regular Inspections: Periodically inspect your rubber gym floor for any signs of damage, wear, or loose seams. Addressing issues promptly can prevent further damage and ensure the safety of your workouts.
- Prompt Spot Cleaning: Attend to spills, stains, or marks on your rubber gym flooring as soon as possible. Prompt spot cleaning can prevent permanent staining or discoloration.
- Proper Weightlifting Techniques: If you engage in heavy weightlifting exercises, use appropriate mats or rubber flooring designed for weightlifting areas. This can provide additional protection to your rubber gym floor from dropped weights or heavy impact. In most cases, just having the rubber floor is perfectly fine. However, if you like to deadlift very heavy, some extra tiles can help, not only to protect the floor but also to reduce noise and vibrations.
- Regular Maintenance Schedule: Establish a regular maintenance schedule for your rubber gym flooring. This includes routine cleaning, inspections, and addressing any necessary repairs or maintenance tasks.
With these practical tips and preventive measures, you can ensure that your rubber gym flooring remains in excellent condition and provides a safe and comfortable workout space.
Common Rubber Gym Floor Problems and Solutions
Part of maintenance is fixing any issues when they arise. Rubber floors are generally maintenance-free except for cleaning but there are a few other things that could go wrong:
- Wear and Tear: Over time, gym flooring can experience wear and tear, including scratches, scuffs, and surface damage from heavy equipment or foot traffic. Regularly inspect the flooring for any signs of damage and address them promptly. Use furniture pads or protective mats under heavy equipment to minimize direct contact with the floor. For scratches or scuffs, consider using rubber floor repair kits or applying a rubber floor coating to restore the appearance. Scuffs, dents, and scratches don’t really impact usability though.
- Moisture and Mold: Moisture can seep into gym flooring, especially from cleaning and spills, leading to mold and mildew growth. Ensure proper ventilation in the gym area to prevent excessive moisture buildup. Clean up any spills or moisture promptly. If mold or mildew develops, use a mild, non-toxic cleaning solution and scrub the affected area. Improve ventilation or use dehumidifiers to maintain optimal humidity levels in the gym space.
- If you notice any mold or mildew, it’s best to take the mats out, deep clean them as well as the floor underneath. Then let everything dry completely before reinstalling. Mold can have severe health effects, according to this study, so it’s worth dealing with it properly.
- Odor Control: Gym flooring can develop unpleasant odors over time due to sweat, moisture, or bacterial growth. Regular cleaning with mild detergents or specialized rubber floor cleaners can help eliminate odors. Ensure proper ventilation to facilitate air circulation and minimize odor buildup. In some cases, using odor-neutralizing sprays or incorporating air fresheners can provide temporary relief. Sealing the floor is a good way of preventing liquids and bacterial growth from getting into in the rubber.
- Fading and Discoloration: Continuous exposure to sunlight or harsh chemicals can cause gym flooring to fade or discolor. Minimize direct sunlight exposure by using blinds or curtains on windows. Avoid using harsh chemicals or cleaning agents that may accelerate discoloration. Regularly clean the floor using recommended cleaning products and techniques to maintain its appearance. Higher quality rubber, like these American Floor Mats Rolls (Amazon) holds up better against sun, water, heat, cold, and chemicals than cheap flooring.
- Seam and Edge Issues: Over time, seams or edges of gym flooring may become loose or damaged. Regularly inspect these areas and address any issues promptly. Apply appropriate adhesives or seek professional assistance to reseal or repair loose seams. Replace damaged sections if necessary to maintain a smooth and secure floor surface. Seam and edge problems can become tripping hazards. Tripping is an unfortunate yet quite common way to get injured in the gym according to this study.
Sealing Rubber Gym Floors
Sealing your rubber gym floor can provide an extra layer of protection against moisture, staining, and general wear and tear. While not all rubber flooring requires sealing, it can be beneficial for certain types, especially those subjected to heavy use or potential exposure to liquids.
- Rubber Floor Sealant: Choose a rubber floor sealant specifically designed for gym flooring. These sealants are typically water-resistant and provide a protective coating that helps guard against spills and stains. Follow the manufacturer’s instructions for application, including the number of coats and drying times.
- Surface Preparation: Before applying the sealant, ensure that your rubber gym floor is thoroughly cleaned and dry. Remove any dirt, dust, or debris that may interfere with the sealant’s adhesion. Use a mild cleaning solution and a soft brush to clean the surface, and allow it to dry completely before proceeding with the sealing process.
- Even Application: Apply the rubber floor sealant evenly across the surface of your gym floor, following the manufacturer’s guidelines. It’s important to ensure complete coverage and avoid puddling or excessive buildup in certain areas.
- Surface Drying: Allow the sealant to dry completely according to the manufacturer’s instructions. This usually involves waiting for a specific period, during which the floor should not be walked on or have any equipment placed on it. Adequate drying time ensures the sealant cures properly and provides the desired protection.
It’s important to note that not all rubber gym flooring requires sealing. Some rubber floors come pre-sealed or have built-in protective layers. Read more on if applying sealants is necessary in this Hunker article.
Before applying any sealant, thoroughly clean and prepare the floor surface according to the manufacturer’s instructions. Follow the recommended application techniques and drying times to ensure proper adhesion and maximum effectiveness of the sealant.
Sealing a rubber floor gives an extra layer of protection which means extra moisture protection, higher stain resistance and easier cleaning. Since sealing closes the pores of the rubber, stuff just doesn’t get in there.
Using Bleach on Gym Floor: Safety and Considerations
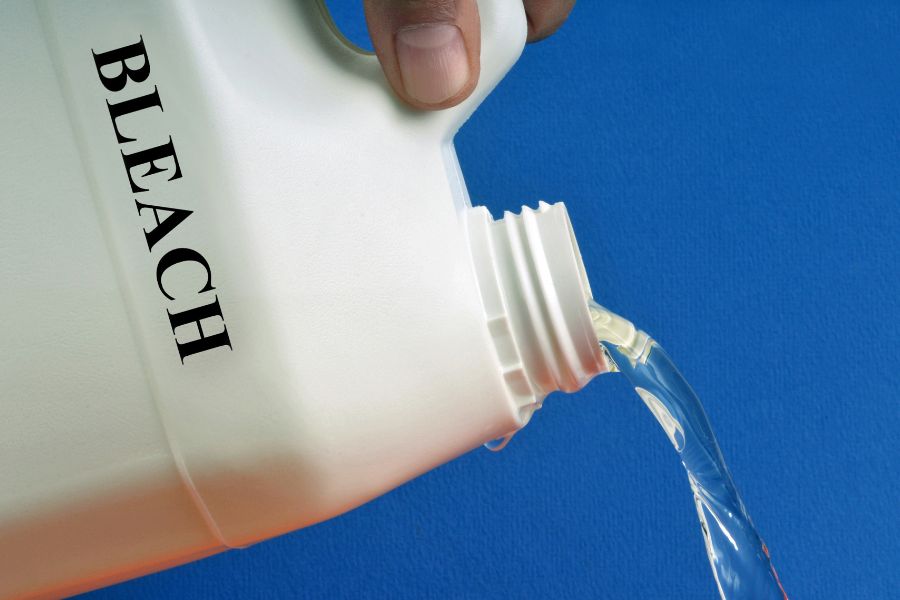
While bleach can be an effective cleaning agent, it’s important to exercise caution when using it on your rubber gym floor. Here are some essential considerations and safety measures:
- Diluted Bleach Solution: If you decide to use bleach, always dilute it with water according to the manufacturer’s instructions. For most uses a ratio of one part bleach to one part water is fine. Using undiluted bleach can damage the rubber flooring and cause discoloration. Test the diluted bleach solution on a small, inconspicuous area of the floor before applying it to the entire surface.
- Proper Ventilation: Ensure that the area where you’re cleaning with bleach is well-ventilated. Open windows or use fans to increase airflow and prevent the accumulation of bleach fumes.
- Personal Protective Equipment (PPE): When working with bleach, wear protective gloves and eye protection to shield yourself from potential irritation or injury. Follow the safety guidelines provided by the bleach manufacturer.
- Testing Compatibility: Before using bleach on your entire rubber gym floor, it’s crucial to test its compatibility with the flooring material. Apply the diluted bleach solution to a small area and observe any adverse reactions, such as discoloration or surface damage. If there are no negative effects, you can proceed with caution.
- Rinsing Thoroughly: After using bleach, rinse the rubber gym floor thoroughly with clean water to remove any residue. Ensure that all traces of bleach are removed to prevent any potential long-term damage to the rubber surface. This is not always possible indoors which is another reason why it’s better to use other cleaning solutions.
In general, it’s a good idea to only use bleach on your rubber gym flooring if it’s really necessary. Other cleaning solutions are usually more than enough to ensure hygiene and cleanliness. If there are circumstances where extra hygiene or mold and mildew prevention/cleaning is necessary and other cleaning solutions don’t do the trick using bleach is a good option.
Final Thoughts
Maintaining your rubber gym flooring is essential for its longevity, performance, and the overall safety of your workout space. Regular cleaning, preventive measures, and proper maintenance techniques play key roles in preserving the quality of your rubber gym floor. Remember to follow manufacturer guidelines, use suitable cleaning products, and address any issues promptly to ensure the optimal condition of your rubber gym flooring.
With a clean and well-maintained rubber gym floor, you can enjoy comfortable and safe workouts for years to come. Implement the tips and recommendations provided in this article, and make rubber gym floor maintenance a regular part of your fitness routine.
Thank you for reading, and we hope these insights help you maintain your rubber gym flooring effectively. For more information on home gym equipment, flooring options, and related topics, feel free to explore the following articles:
- Best Flooring for Home Gyms
- Home Gym Flooring: What Do You Need?
- 16 Ways to Make Your Home Gym Quieter (Soundproofing)
Stay tuned to Home Gym Resource for more informative articles and resources to enhance your home gym experience!
