Usually, you only think about lubricating your exercise bike once it starts being noisy or less smooth. However, it’s a good idea to get ahead of the game and lubricate your exercise bike before something goes wrong. But what do you have to lubricate and what is the best way to do it? Here’s what you want to know.
The most critical parts to regularly check and lubricate on any exercise bike are the; pedals, seat/handlebar adjusters, and chain if your bike has one. On bikes with a physical brake pad, lubricating the brake springs and some brake pads is necessary.
For more in-depth information about the correct lubricants and how to perform these tasks, keep reading.
Contents
Which Parts Of an Exercise Bike Should Be Lubricated?
Of course, not every surface of an exercise bike has to be bathing in oil. But to keep the bike in the best shape, a few parts should be lubricated regularly. Here are the parts you want to lubricate on an exercise bike;
- Pedals
- Adjusters
- Chain
- Brake spring
- Brake pad
Before you lubricate anything, make sure the bike is on a surface that is easy to clean. Putting something that can catch drops of lubricant under the bike for maintenance is also a good idea. Lubricant can sometimes end up in places where you don’t want it and the floor is one of those places. Getting oil of grease in your carpet is no fun.
What’s The Best Lubricant For Exercise Bikes?
Before we get started you probably want to know which lubricant you’re going to need. Most parts can be lubricated with the same stuff but for other parts, you need something else. Here’s the breakdown;
- Pedals: ParkTool Polylube Bicycle grease
- Adjusters: 3 in 1 or silicone
- Chain: 3 in 1 or chain lube
- Brake spring: 3 in 1 oil or silicone
- Brake pad: If necessary, use silicone-based lubricant.
In general, any time you can get a spray bottle with a nice straw you will make your life a lot easier.
How to Lubricate Parts Of an Exercise Bike
Now we know which parts of an exercise bike have to be lubricated and what the best products to use are. Now let’s see how to do it exactly.
Adjusters
Any part of an exercise bike that can be adjusted needs to be lightly lubricated. The adjusters on the seat and handlebars are the most common. If you’re just using your own bike, it’s likely you just leave all the adjusters set to the same setting. However, if you don’t lubricate it sometimes, they can get stuck which might be a problem if you want to sell the bike or let someone else use it.
Pull out all the adjusters as far as they’ll go. This should expose a metal rod that slides into another part. Clean the metal of any dust and dirt with a clean cloth. Then spray some 3 in 1 oil on a clean cloth and rub it on the metal parts. After that, just slide the adjusters through the range a few times to spread the lubricant around.
It’s only necessary to do this every 6 months or so or when an adjuster feels like it’s getting tougher to move.
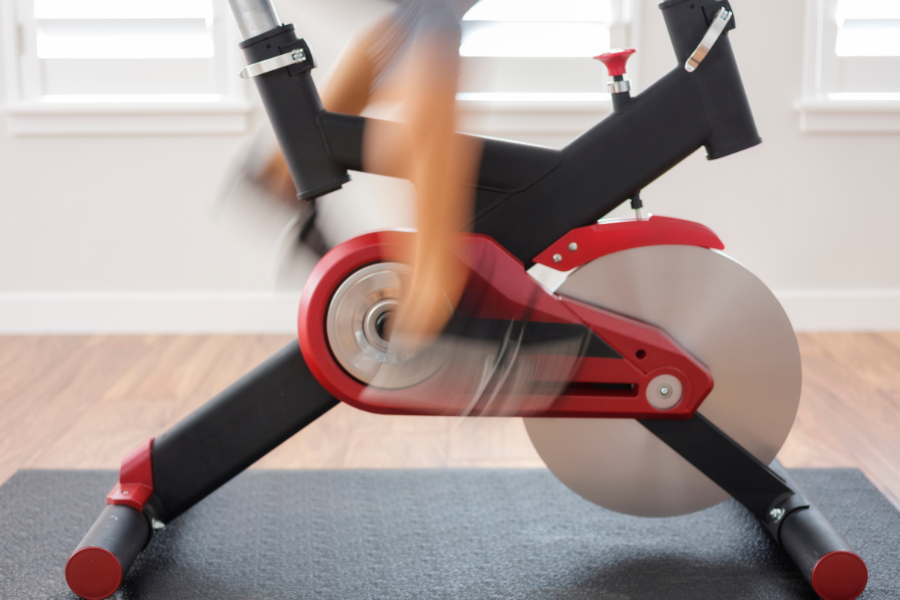
Chain
Not all exercise bikes have a chain; some have a rubber drive belt. Drive belts don’t have to be lubricated but chains do. About once a month, lubricate the chain with an appropriate lubricant.
Often the chain on an exercise bike is covered up by some sort of shroud. It will make your life a lot easier if you just remove it for chain maintenance. It’s an extra step but one that makes the other steps much easier. In most cases, a Philips head screwdriver is enough to remove the shroud which is a tool pretty much everyone has.
After removing the shroud, give the chain a visual inspection and rotate the pedals a few times to see the chain working. Just keep your fingers out of it while you do that. If there is any dust or dirt on the chain or if old lubricant is caked on, remove that first. The best way to do that is by soaking the chain in WD-40, letting it work in for about 10 minutes, and then wiping everything off with an old rag.
WD-40 is not a great lubricant for chains though. So wipe it off carefully and then apply a good chain lube. Something like 3 in 1 oil works for exercise bike chains but if you use your bike very hard and often, a specific chain lubricant can help extend the lifespan.
You could even use motorcycle chain lubricant if you’ve got any of that laying around.
Apply lubricant to the chain, let it set up for about 15 minutes and then wipe of any excess with a clean cloth. If you got any lubricant on other parts of the bike, wipe that off too.
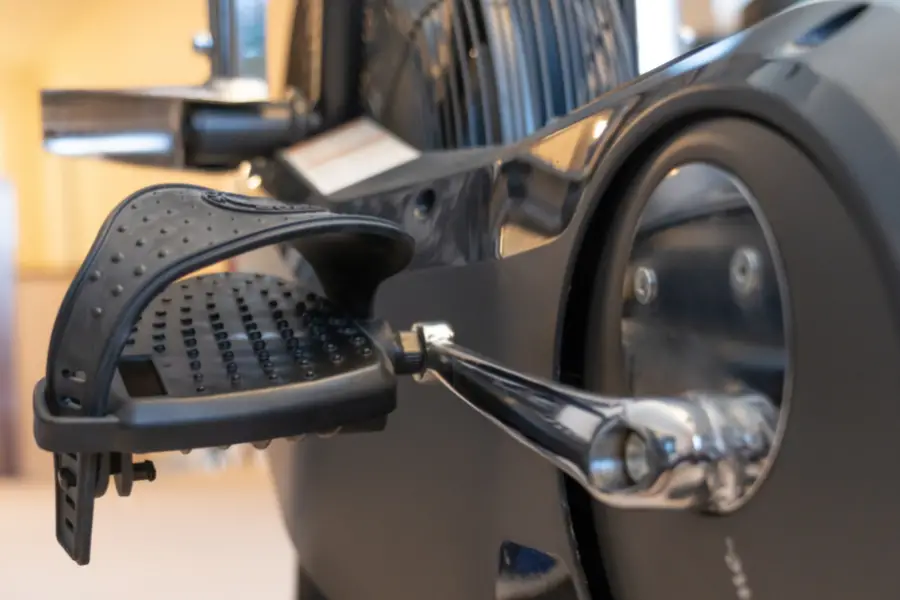
Pedals
The pedals are under a lot of stress and are constantly rotating when using the bike. That’s why they should be lubricated regularly. Not staying on top of pedal lubrication runs you the risk of wearing them out pretty quickly.
Taking the pedal off the crank arm and using good grease is the best option. Take the pedal off the crank, clean both parts, apply grease, and reassemble. This is the proper solution and will last the longest.
However, if you’re feeling that the pedals don’t rotate smoothly anymore but you don’t have any tools or grease to do the job properly, just spray some penetrating lubricant on the connection between the pedal and crank arm and let it soak in for a while will do the trick. This is a temporary solution but better than nothing.
Brake spring
There are different designs out there but if you’ve got a physical brake pad, there is probably at least one spring in the mechanism. Magnetic brake bikes don’t need any lubrication. Just use a tiny drop of 3 in 1 oil on the ends of the spring where they touch other parts.
Just be careful not to get any lubricant on the brake pad or flywheel.
Brake pad
On any bike with magnetic resistance, it’s unnecessary to do anything with the brake. On spin bikes with a felt brake pad, it is sometimes necessary to apply silicone lubricant to the surface of the brake pad. I prefer to only do this when the brake starts squeaking but you can do it preventatively as well. Squeaking brake pads on an exercise bike is often a sign that the pad is dry or worn out.
Simply take out the pad, give it a light spray of silicone lubricant, and put the pad back in the bike. If the pad is worn out, replacing it is the best option. With regular use, you can expect a brake pad to last about a year.
If you’re in doubt about what type of brake pad you have and if it needs lubrication, check your owner’s manual. It’ll tell you what to do with the brake pad.
Other Exercise Bike Maintenance
Besides lubricating, there are some other things you want to keep an eye on to keep your exercise bike in tip-top condition.
Clean
Regular cleaning is important. It keeps dust and dirt away from all the moving parts. Wipe down all the sweat after every workout. Just using a damp cloth is fine. About once a week give the whole bike a good clean. That means all the parts, even the ones you don’t touch or get sweaty.
On recumbent or upright bikes you have to remove some of the shrouds to really clean everything inside well.
Don’t forget to regularly wipe down the outside rim of the flywheel. That’s the surface the brake pads work on so any dirt on the flywheel is going to get into the brake pad and contaminate it. This can cause the brake pad to stop working as it should or fail prematurely.
Of course, keeping the rest of your gym clean also helps a lot.
Put it on a mat
Putting your exercise bike on a rubber mat is not maintenance but I guess you could see it as preventative maintenance. A mat will reduce the amount of dust and dirt that gets into the moving parts. This reduces the need for cleaning but also makes the area around the bike easier to clean. A rubber mat is non-absorbent so sweat is a lot easier to clean up.
It also helps to provide a stable surface for the bike. If the surface isn’t completely straight, the bike can wiggle which can loosen fasteners and torque the frame in ways that could do damage over time.
Check pedals
Check that the pedals and crank arms are torqued up correctly. Because there is constant tension on them, they can get loose over time which makes the bike feel all wobbly and weird. When a bike is new, it’s a good idea to check after a few workouts if all the bolts are torqued up correctly.
After that, just check it about once a month or so. Wiggling the pedals and crank arms by hand will tell you if it’s loose or not but if you can feel it by hand, it’s already too late. By the time the pedals start wiggling, you’re already doing damage that tightening the bolt back up isn’t going to fix. Checking with a wrench is better.
Tighten fasteners
Any other fasteners on the bike should be checked as well. Just like with the pedals, it’s especially important to do it on a new bike after a few workouts. After that just give everything a check every few months or so.
Because an exercise bike is constantly moving and twisting, it’s possible fasteners can loosen up over time. This isn’t necessarily a sign that something is wrong unless it happens quickly and regularly. Applying some Locktite can help.
