Working out is like maintenance for your body. But the machines that help you stay in shape need some maintenance as well. Stationary exercise bikes are no different. They need maintenance like any other machine and here’s how to do it right.
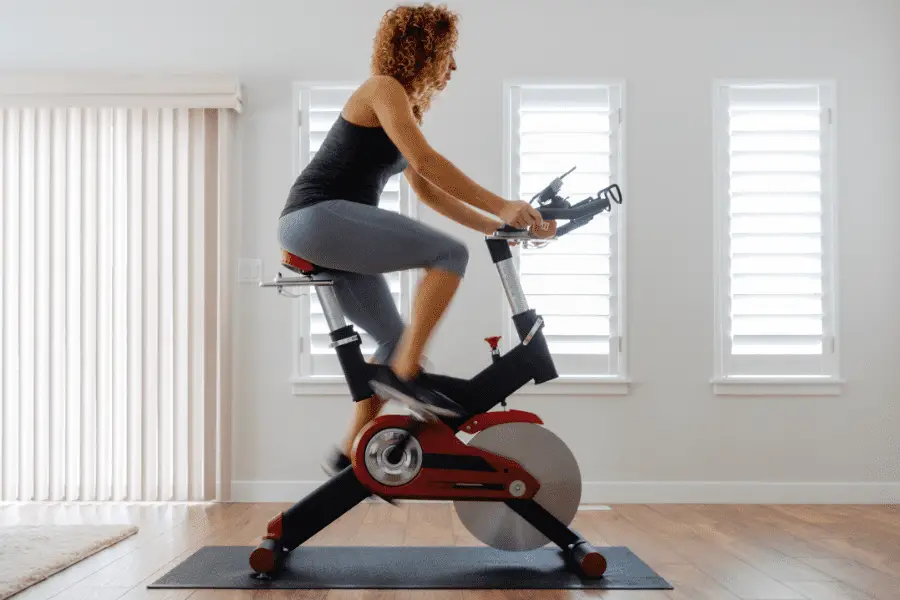
Keeping a spin bike and area around it clean is the best preventative maintenance. Periodically checking all the bolts, straps and fasteners is also a good idea. After checking, lubricating the chain and brake pad with appropriate lubricants keeps everything smooth.
Let’s see how to do all those things below.
Contents
Stationary exercise bike maintenance
What are things you have to check, lubricate, clean and otherwise maintain to keep your stationary bike in optimal condition?
Here’s what you need;
- Cleaning supplies
- Tools
- Silicone lubricant (This WD-40 Spray silicone on Amazon is good.)
- Teflon lubricant for chain drive models (This bike specific lubricant on Amazon works very well)
1. Clean the bike
Start off by cleaning the bike. Every workout you’ll sweat. No matter how much you wipe your face, a lot of that sweat will end up on the bike. Sweat is one of the biggest enemies of exercise equipment believe it or not. And exercise bikes are especially susceptible because you’re spending a lot of time on them while doing cardio which means the users sweat a lot.
Sweat is actually more corrosive than just water. So leaving it on metal for too long can cause damage especially over time
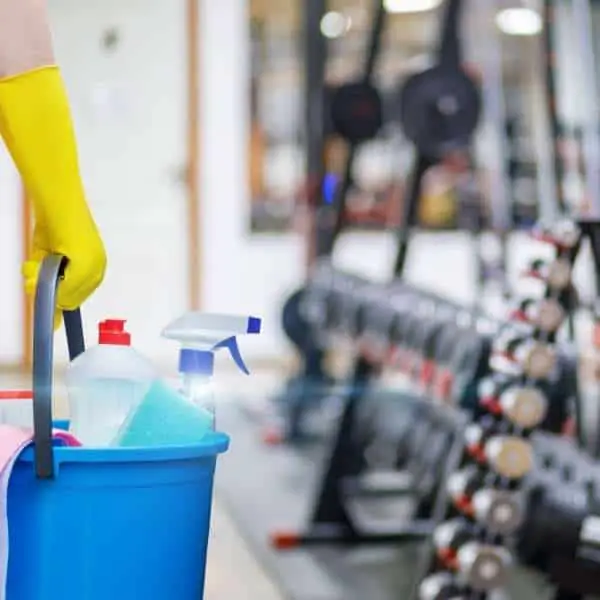
The best way to easily clean after a workout is to use antibacterial wipes. Just keep a box handy near your bike and it makes it much more likely that you’ll actually clean it than if you have to get a bucket of water.
Wipe down all the surfaces of the bike. Especially those spots you touch and where sweat lands. If you have a bike where things are adjustable, clean off the parts that slide since they are especially vulnerable to sweat getting in.
You’re not going to get a bucket with water after every workout so having some wet wipes ready to go in your gym will help you adhere to cleaning after every workout. These cheap wipes on amazon do the job well.
Don’t forget the lower parts and flywheel of the bike. The lower parts is where the sweat tends to go because of gravity. Especially clean the welds since that’s the last place where you want to get corrosion. The flywheel is often stainless steel if it’s exposed but cleaning it will keep it looking nice for longer.
If you’ve got stains or dirt that are a bit more stubborn, you can use a little bit of water.
Just use a bucket of lukewarm water with mild detergent and a damp, lint free towel. Just wipe down the whole machine but be careful not to use too much water. Water can get into the machine and cause electrical problems and corrosion.
If you’ve got a magnetic resistance bike that has more plastic shrouds around it than the standard spin bike, it is really worth it to take them off about once a year and clean the shrouds and insides of the bike.

2. Clean the space
Cleaning the bike is great and necessary. But don’t forget to clean the space around the bike. If there is a lot of dust and dirt in the space around the bike, it’ll get onto it in no time. A buildup of dust can cause many problems especially if it gets into the moving parts.
Just vacuuming around it will help prevent a lot of dust ever getting to the machine.
Also consider putting the exercise bike on a rubber mat instead of the carped. A rubber mat will mean much less dust will get on the bike since carpet can ‘release’ dust.

3. Inspect
Before you do anything else, inspect the bike for any obvious damage, wear and tear. Some things to inspect are;
- Seat
- All adjusters
- Nuts, bolts and fasteners
- Foot straps
- Pedals
- Flywheel motion
- Drive belt/chain
- Brake pad (if applicable)
Keep reading for more detail.
4. Seat and foot straps
The first and easiest check is the seat and foot straps. Check for cracks and wear. Keeping them clean can extend the lifetime. A cracked and worn seat can really compromise the comfort while sitting on the bike.
The foot straps hold your feet close to the pedals for optimal power transfer. You don’t want them to break during a workout since you could hurt yourself. They do last quite a while so with regular checks, you’ll be able to see if they’re on their way out.
Suggested post: Can you peddle backwards on an exercise bike?
5. Adjusters
Most stationary bikes have a few adjusters so you can adjust everything to your liking. Usually the adjusters consist of; A frame fitting, a piece that screws into a hole in the frame and holds the rest of the adjuster. A pull pin, and a spring to return the pin.
Adjusters have to be tight but still move. Make sure the frame fittings are mounted solid in the frame. If they’re not in the frame solidly you risk stripping off the threads. A wrench can easily tighten up any loose fittings. If the pull pin doesn’t move smoothly, pull it out and spray a little bit of lubricant on the pin. That should solve the problem.
Also, take all adjustments through full range of motion and clean off all dust and dirt.
Figured out you actually need a new bike? Find a high quality exercise bike here.
6. Brake pad
The brake pad is something that should be inspected with some regularity but won’t wear out very quickly. It’s also something that’s pretty easily replaced as long as you get the correct replacement part. Not all exercise bikes have a brake pad. Stationary bikes with magnetic or air resistance have other ways of creating resistance that doesn’t require a brake pad.
There are some things you can do to keep your brake pad last longer though.
There are different types of brake pads. The two most common types;
- Felt
- Leather
If something is wrong with the brake pad, it can get really difficult to dial in the correct resistance, going from zero to max in a single turn. You should be able to dial in the resistance little by little. Brake pads often lose this ability because they get clogged up with dust and dirt which makes them more grippy.
Another issue is that the brake can get squeaky.
Both problems are solved with some lubricant.
- Get a spray bottle of silicone lubricant. This WD-40 Silicone spray is good and convenient to use. (Amazon link)
- Spin the flywheel
- Spray the lubricant on the flywheel. (the side the pad touches)
- Pulse the brake so the pad absorbs the lubricant.
For most cases that will solve your problems. If it doesn’t, new brake pads are not too expensive and easy to replace.
If you have a leather brake pad and it looks ‘glazed’ you can rough it up a little with a wire brush. After that, let the pad soak in lubricant for 2-3 hours.
Find a complete stationary bike lubrication guide here.
7. Drive chain/belt
There are three ways of driving the flywheel (or fan) or a stationary exercise bike.
- Belt
- Chain
- Direct
Suggested post: Belt vs. chain drive exercise bike.
It’s pretty easy to see which type you have on your bike. If the pedals are in the same place as the flywheel, it’s direct. If they aren’t you either have a chain or belt drive and one closer look will likely tell you which one it is in your case.
A belt drive is a rubber belt with teeth that connects the pedals to the flywheel. The drive belt does need a little maintenance but not too much. Just keep it clean and it’ll be good. Clean off dust and dirt that collects over time. If you’ve got a chain, it does need a bit more maintenance.
A chain drive is a bit more maintenance sensitive. Just like a bicycle or motorcycle chain, a stationary bike chain needs some cleaning and lubrication. Usually, because you’re not riding outside, the chain will stay pretty clean but you’ll still need lubrication from time to time.
To lubricate an exercise bike chain do the following;
- Take off the chain guard
- Clean the chain with chain cleaner if necessary (not common)
- Use a Teflon chain lubricant. Try to avoid basic WD-40 or all in one lubricant.
- Hold some cardboard or a towel behind the chain in the location you’re going to spray it.
- Spin the chain either by moving the pedals or flywheel
- Spray the chain with lubricant. Try to distribute as uniformly over the chain as possible.
- Wait 10 minutes
- Wipe off any excess.
It’s important to keep your space around the bike as dust free as possible and clean it regularly to prevent dust from getting onto the chain.
8. Pedals
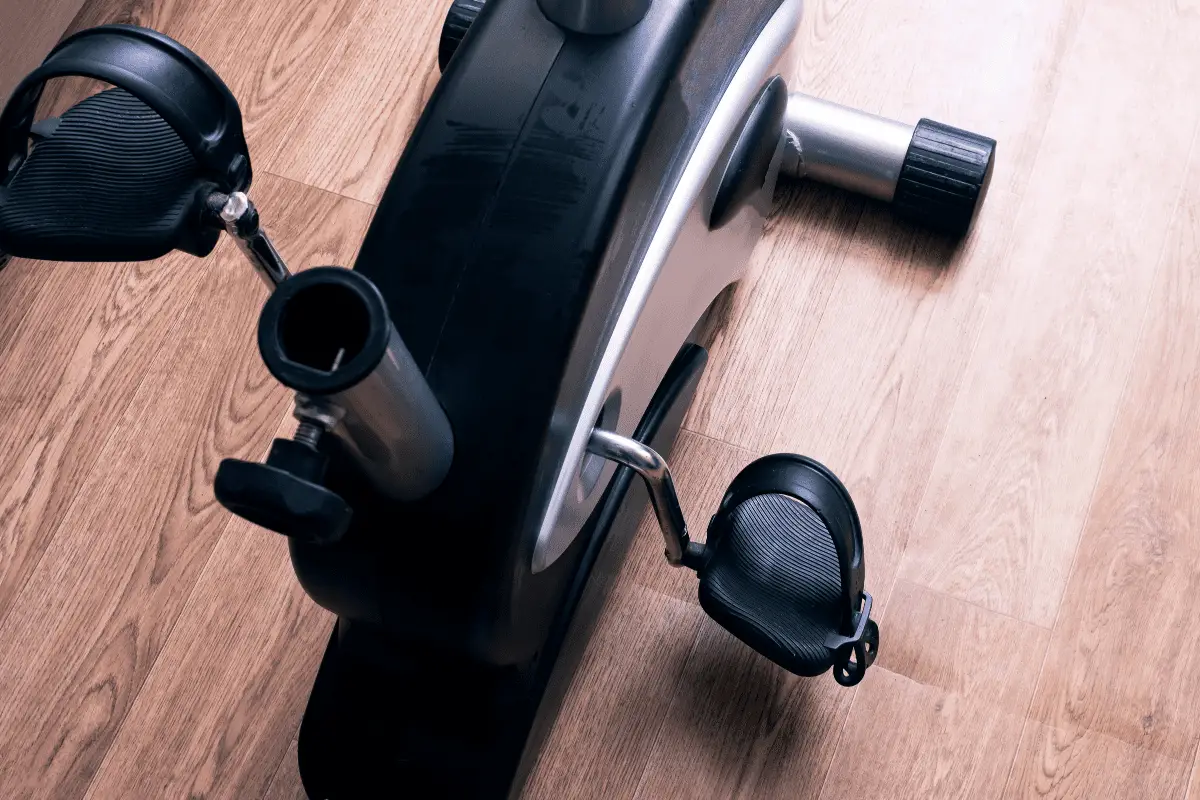
One of the most important pieces of the puzzle that is an exercise bike are the pedals. They have to be fastened securely and move freely.

It’s not very common that something goes wrong with the pedals but because they are such an integral part of a working bike, it’s important to keep it in good shape.
Just get on the bike and see if everything feels tight and smooth. If any vibrations are felt through the pedals it might be necessary to tighten them. To do this you need a special wrench called a ‘pedal wrench’.
Once you get a pedal wrench, It also becomes a lot easier to grease the pedal. To grease the pedal bearing;
- Take off the pedal by loosening the nut.
- Wipe down the crank arm and pedal threads with a cloth. Follow the threads and spin to really clean them out.
- Clean the pedal. Try to clean out the inside as much as possible
- Put a good amount of grease on the pedal threads. The grease will spread out when putting the pedal back on and used a little bit.
- Put the nut back on.
Make sure to use grease and not lubricant. Most grease will do. If you’ve got something laying around that’s safe to use on metal, it will likely do the job. If you don’t have anything and want a good grease for this application check out this MAG1 grease on Amazon
Stationary exercise bike maintenance checklist
Above are a lot of words explaining everything you have to do. To make it a bit easier to understand and refer to, here is a quick checklist you can use to see when it’s best to do those things.
| Daily | Wipe down bike |
| Keep environment dust free | |
| Monthly | Check nuts, bolts and fasteners. Tighten if necessary |
| Check adjusters | |
| Lubricate brake pad | |
| Every 6 months | Grease pedals |
| Lubricate chain |
Figured out you actually need a new bike? Find a high quality exercise bike here.
Related questions
How long should an exercise bike last? If maintained carefully, and the bike was of good quality to begin with, it should last for decades. 20 years should be attainable pretty easily with a high quality bike that is maintained well.
Favorite Cardio Accessories
Check out these accessories that improve a home cardio workout:
- Equipment mat: All cardio equipment should be put on an equipment mat. The Rubber-Cal mat (Amazon) is an affordable yet very high-quality choice.
- Interval timer: To time your intervals and workouts, there is no better choice than the GymNext Flex. It’s super easy to use and set up with a phone app.
- Tablet holder: Cardio can be boring. With this tablet holder (Amazon) you can follow along with on-demand workouts or just watch a movie on any cardio machine.
- Heart rate monitor: Monitoring your heart rate is very important while doing cardio. The Polar H10 (Amazon) connects to almost anything you can imagine and is very accurate.
To find which cardio machines I recommend for home gyms, click here.

